
How We Skipped Expensive Swim Lessons and Taught Our Kids Water Safety at Home
If you’re looking for an affordable way to teach your kids how to swim, build water confidence, and stay cool during the summer, this simple setup might be exactly what you need. After pricing out swim lessons for three kids (over $800 a month), we decided to try something different—an above-ground pool at home. Not only has it saved us money, but it’s also helped our kids gain real water safety skills at their own pace. Here’s exactly what we did, what we bought, and why it’s worked so well for our family.
This post may contain affiliate links. Please read our full disclosure HERE.
Why Swim Lessons Didn’t Work for Our Family
A few years ago, we enrolled our two oldest in swim lessons. The classes were only 25 minutes long, and they went by so fast. On top of that, they were expensive, so we could only do one class per child each week.
It never felt like enough time for them to actually get comfortable in the water.
This summer, I revisited the idea of lessons for all three kids. After researching multiple programs, the best option still came out to:
- $175 deposit
- $195 per week per child
- Three 15-minute sessions per week
That’s about $800 a month for three kids—and that doesn’t even include the deposit.
On top of that, coordinating nine trips a week while working full-time just wasn’t realistic.
The Lightbulb Moment: A Simple Backyard Pool
As we looked at both the cost and time commitment, something clicked.
Our oldest didn’t need structured lessons—she needed more time in the water. She needed to feel comfortable, not rushed.
And with how hot summers are here, we also just needed a better way to cool off.
So we asked ourselves: what if we brought the water to us?
Instead of paying for limited lesson time, we could give our kids daily exposure to water, help them learn at their own pace, and enjoy it as a family.
Why We Chose an Above-Ground Pool
I spent hours researching before buying anything. My goal was simple:
- Easy setup
- Low maintenance
- Budget-friendly
- Good for beginners
This pool checked all the boxes.
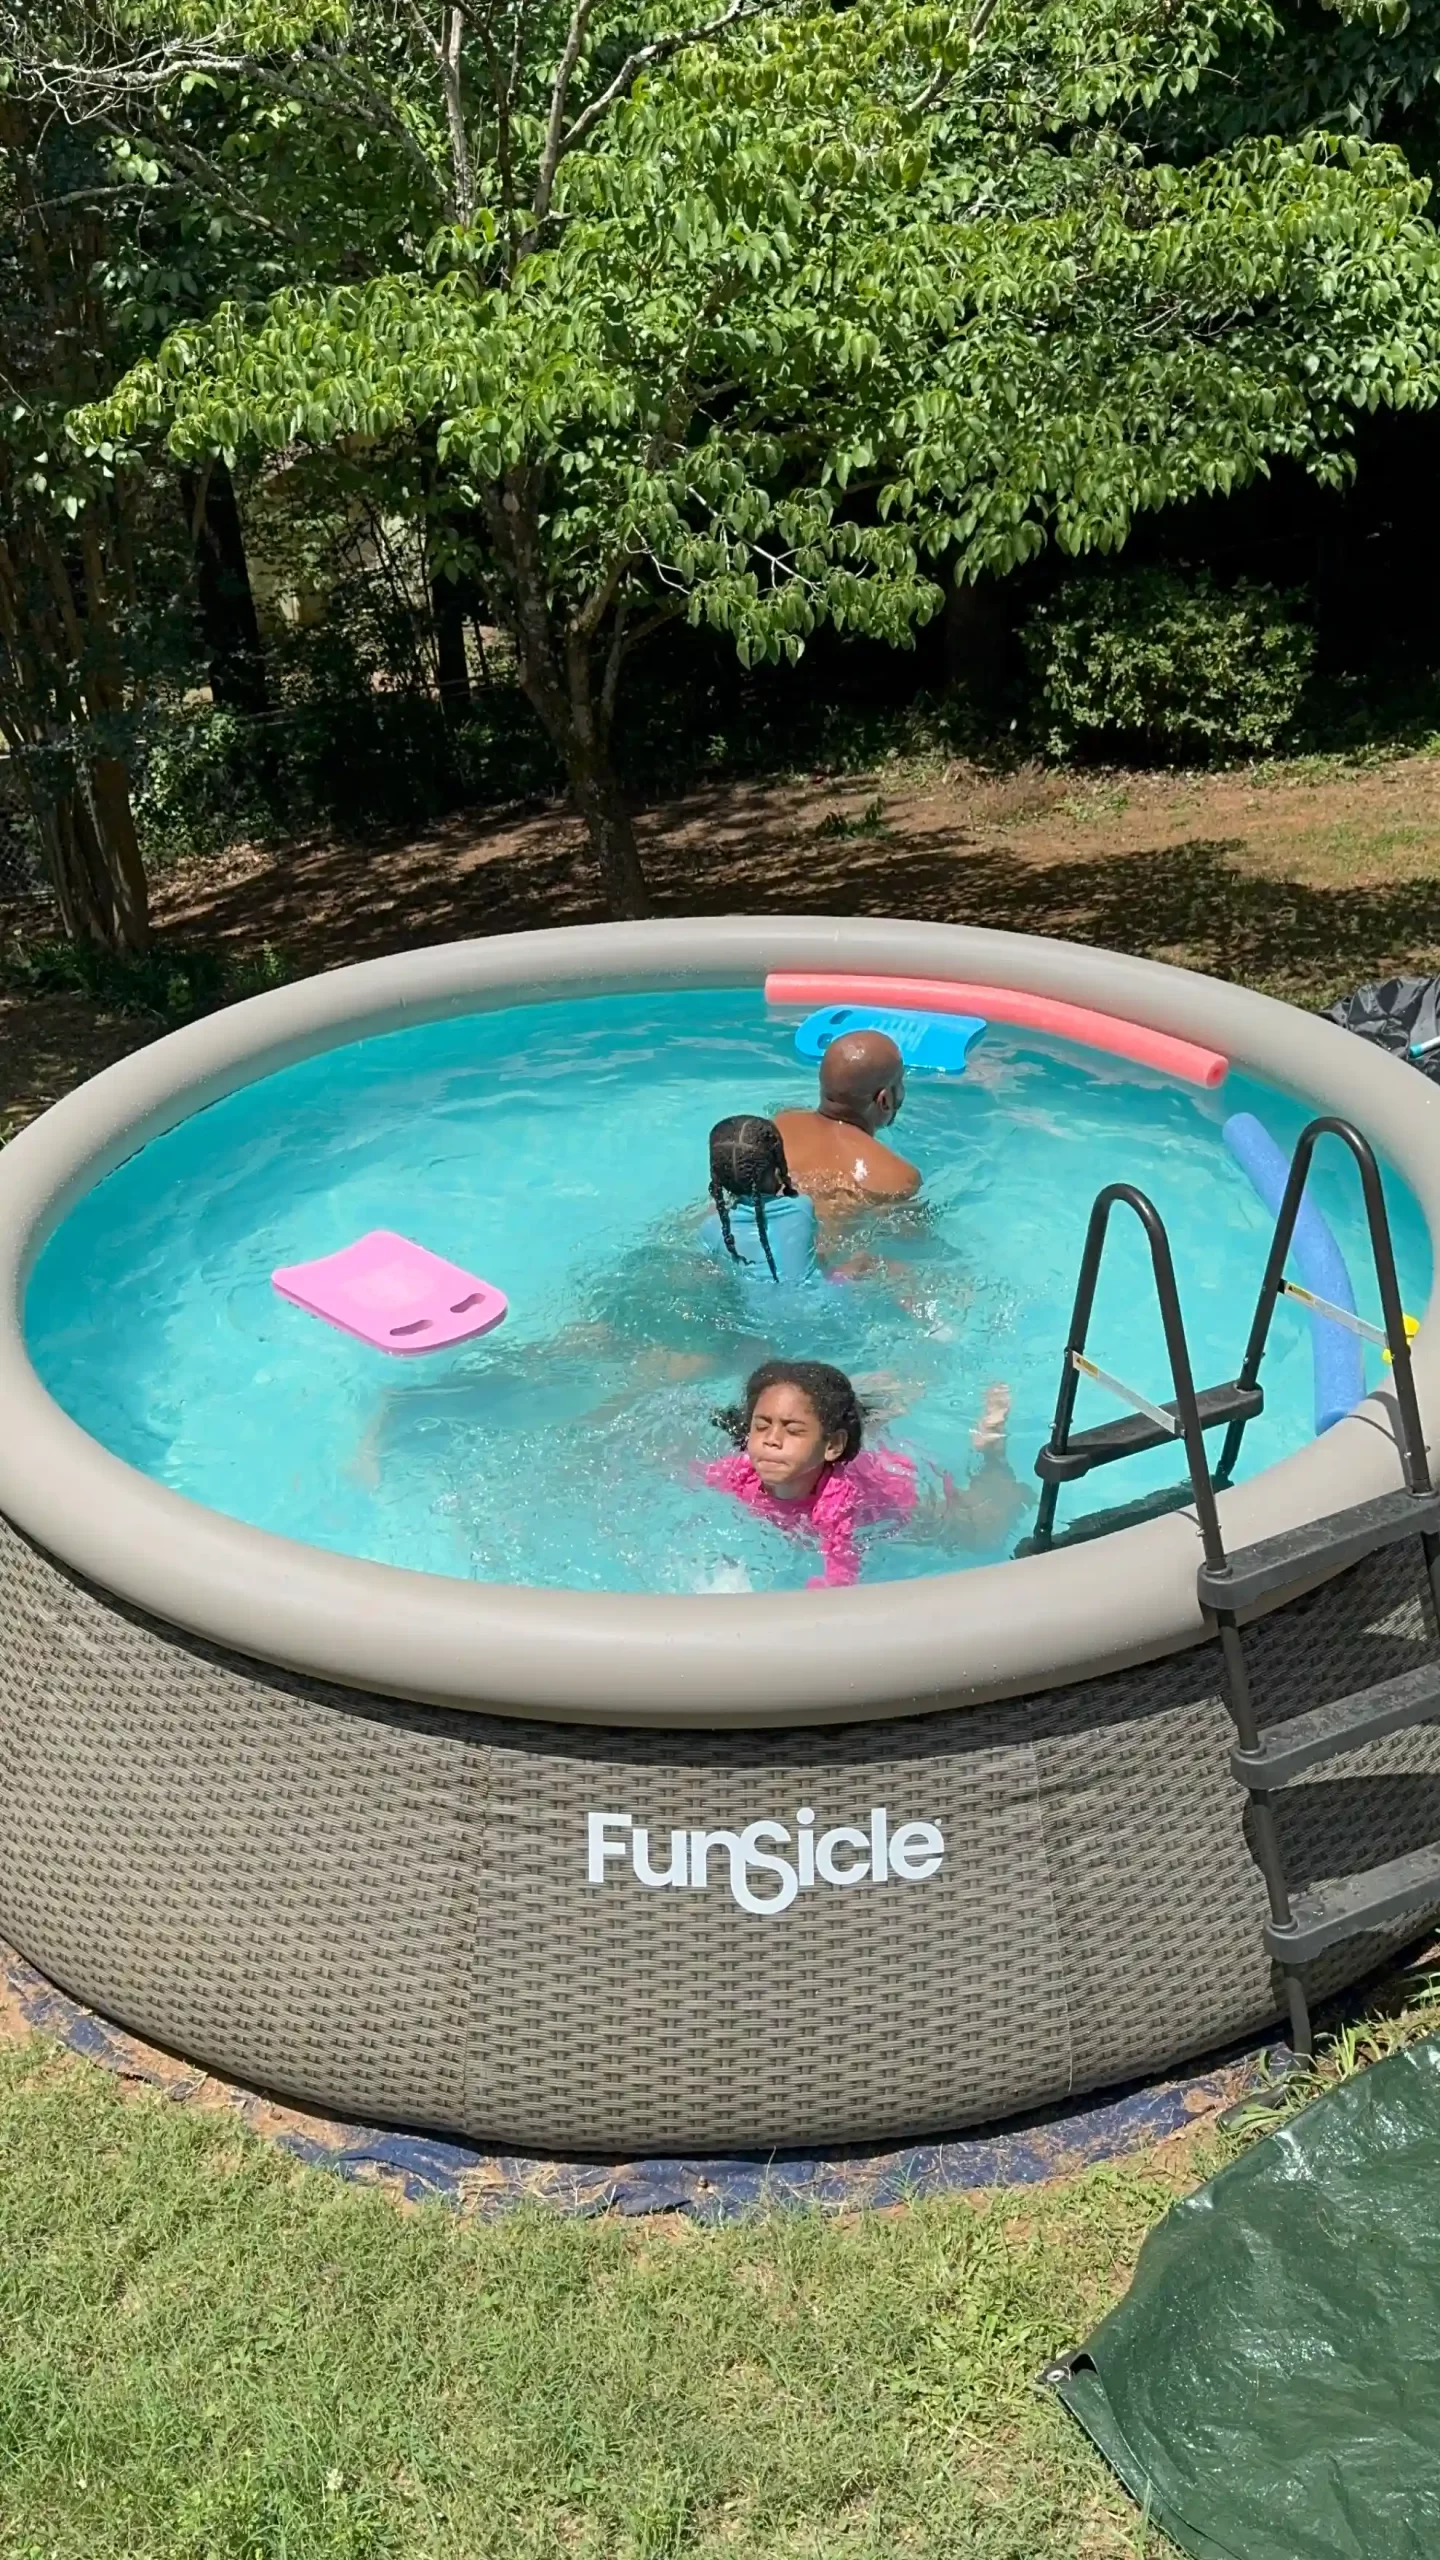
Setup was incredibly simple—you lay it flat, inflate the top ring, and start filling it. No complicated frame, no heavy legs, no stress.
We chose the 12-foot size (about 2.5 feet deep), and it turned out to be perfect.
What It’s Actually Like Using It Every Day
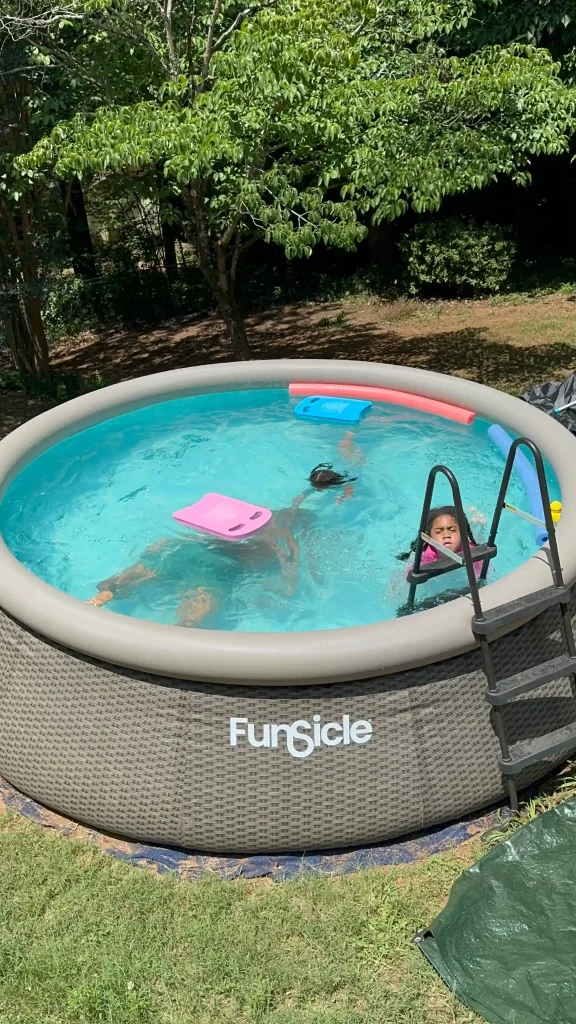
We’ve been using the pool almost daily for two months now, and it’s become one of the best parts of our routine.
The kids can:
- Practice swimming at their own pace
- Build confidence without pressure
- Get comfortable putting their faces in the water
And for us?
- We can actually get in and enjoy it too
- It cools us off instantly
- It creates easy, fun family time
Some of our favorite moments have been simple afternoons—swimming, then eating pizza outside together. It feels like a classic summer, and I didn’t expect that.
How This Became Part of Our Homeschool Routine
One unexpected benefit is how naturally this fits into our homeschool rhythm.
During the day:
- My husband takes the kids out to swim
- I join during breaks from work
- We use that time to transition into lunch and rest
It’s become both a physical activity and a life skill—without needing a formal “lesson.”
What We Bought (Simple Pool Setup Essentials)
We kept things simple and only added what we truly needed:
- Pool with included pump
- Chlorine tablets
- Shock treatment
- Water testing strips
- Skimmer net (for debris)
- Pool brush (the rubber brush is best for this type of pool)
- Simple vacuum (so easy; we returned the original vacuum we purchased and love how hassle-free this one is)
- Ladder (upon posting this, the ladder is unavailable; though, any 36-inch ladder will do the trick!)
- Pool cover (especially helpful for keeping out rain and debris)
Pool Maintenance Made Simple (Beginner-Friendly)
Before this, we had zero experience maintaining a pool.
But staying on top of a few basics has made all the difference:
- Keep chlorine in consistently
- Shock the pool after heavy rain or intense heat
- Use a net weekly to remove debris (my husband uses this the most; it’s likely his excuse for getting in and enjoying the pool as much as he does)
- Cover the pool when not in use
And yes—I had a real fear of ending up with frogs (long story from years ago). But nearly three months in, we’ve had zero issues this time around.
Tips Before You Set Up Your Pool
A few things we learned along the way:
- Your ground doesn’t have to be perfectly level (I was so afraid that being even a smidge off would cause the pool filter to not work as effectively. Good news – this has not been an issue.)
- Choose a sunny spot to keep water warm (this might mean you apply shock more often, but we’ve enjoyed catching sun rays while swimming)
- Avoid placing it directly under trees if possible
- Add mats underneath for comfort
We placed ours on a brick area and layered mats underneath—this pool liner as the bottom layer and as a stoke of genius, we made use of this baby mat which was taking up room in our house. Granted the baby mat doesn’t cover the entire bottom of the pool, it covers 90% of the bottom where you’d actually walk around inside of he pool. Since we placed our pool on top of a brick area, the baby mat in particular provides a much-needed cushion (and peace of mind since our middle child cannot help but to jump into the pool from ladder). Overall, this combination has worked perfectly for us.
Is a Small Pool Big Enough for Kids to Learn?
I worried that 12 feet wouldn’t be enough space—but it’s actually perfect.
The kids can:
- Swim forward multiple strokes
- Turn and keep going
- Practice without feeling overwhelmed
Plus, they can stand—which has been huge for building confidence.
Our four-year-old has basically taught herself how to swim just from daily exposure, and our oldest is finally relaxing in the water.
Safety Measures We Put in Place
Safety was a top priority for us.
We made a few simple changes:
- Keep the back door locked at all times
- Added an outdoor camera facing the pool (we already use the Blink Camera System but I especially like this newest camera we’ve added to the system since it allows for two-way talk – I use that to chat with my husband if I’m prepping lunch inside and he’s in the pool with the kids, without his phone)
- Ongoing conversations about never swimming alone
These small steps have given us peace of mind.
Final Thoughts: A Simple, Affordable Way to Teach Water Safety
This setup was never meant to replace professional swim lessons forever.
It was meant to:
- Build confidence
- Increase water exposure
- Teach basic safety
And it’s done exactly that, plus, it’s given us some truly special Summer days!
We may upgrade to a larger pool—or even an in-ground pool—down the road. But for now, this has been the perfect solution.
We certainly plan to pack it up and bringing it right back out next summer.
If you’re trying to balance cost, time, and giving your kids real-life skills, this is a simple option that’s absolutely worth considering.
Leave a comment below if you have any questions – I’m happy to help!