Nature’s Classroom: Gardening with Kids
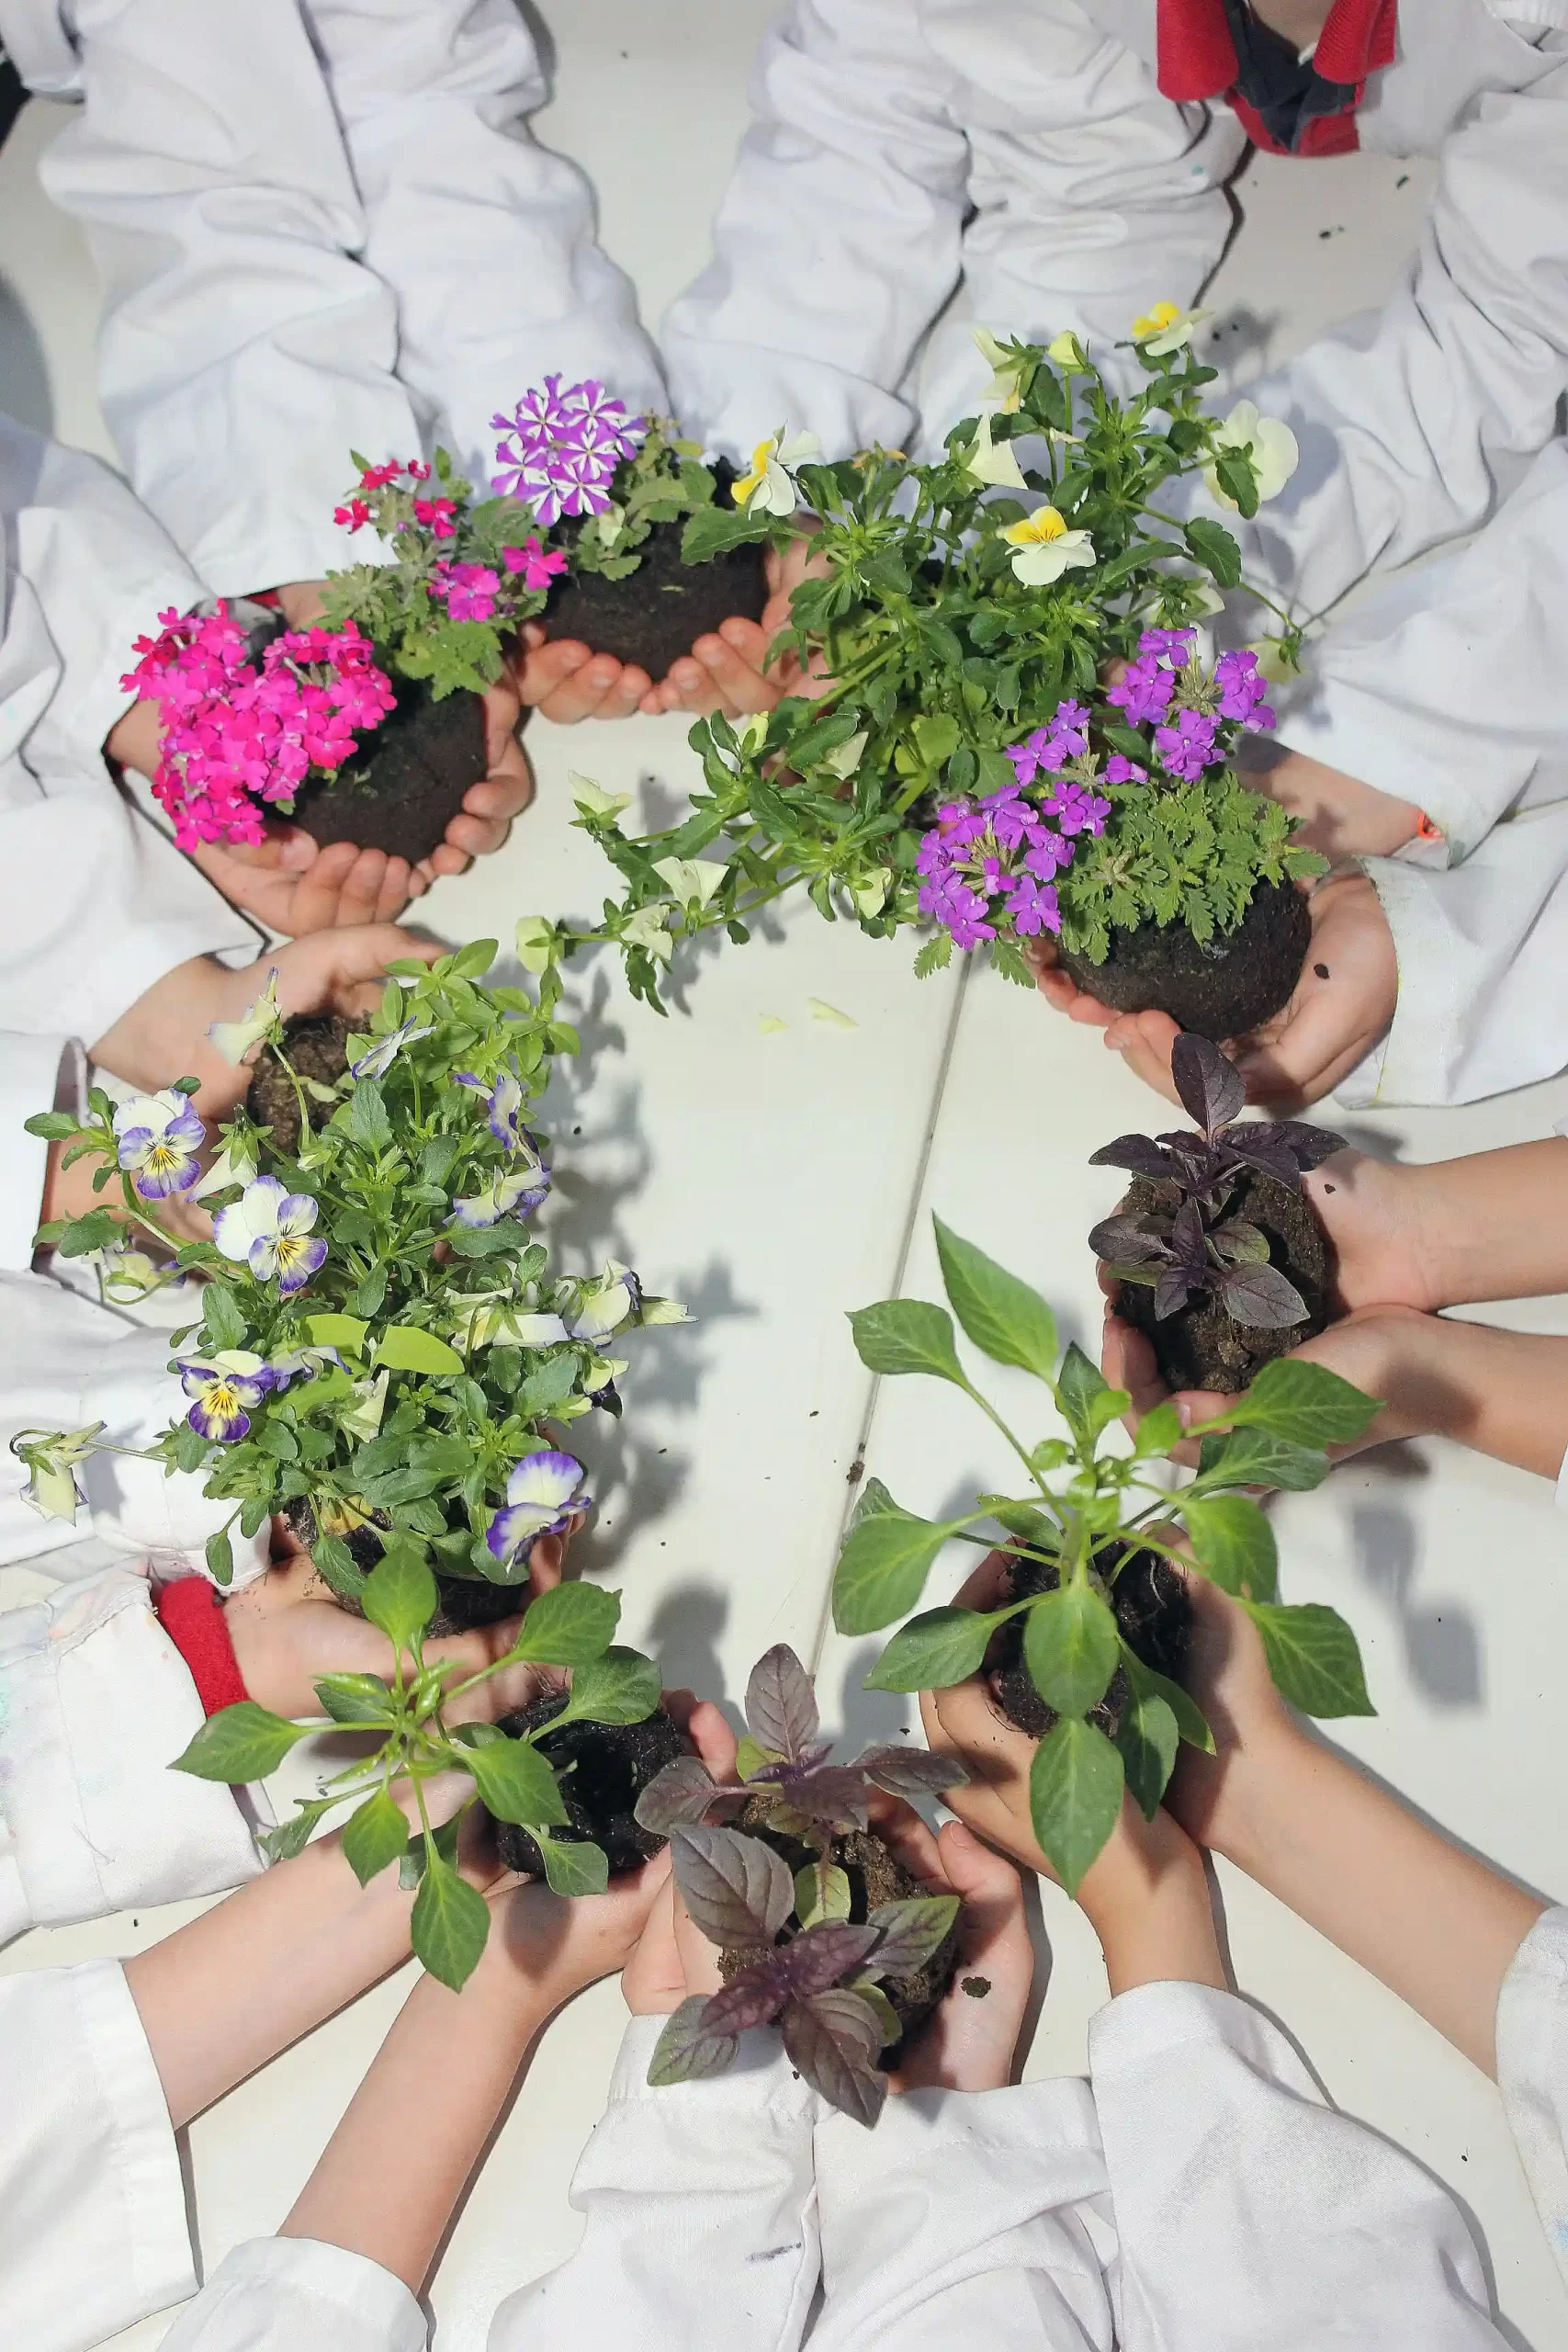
There’s something magical about watching a tiny seed grow into something beautiful—and even edible! This season, our family decided to grow watermelon, cherries, cucumbers, and two different types of flowers. This is our second planting project this summer. You can read about the first HERE where our toddler pulled the seed out by its roots. We’ve gotten a lot further in the process this second time around!
We’re still in the seedling stage, but the process has already been rewarding, especially for the kids. Here’s a look at our simple, no-fuss method for starting a garden from seed.
Why We Chose to Start from Seed
While buying small plants from a nursery is convenient, we wanted our children to see the full life cycle—from seed to harvest. Plus, starting from seed allows for more variety, and it’s a cost-effective way to grow multiple plants at once.
Our Seed Starting Setup
We opted to germinate the seeds directly in soil rather than starting them in paper towels or water first. This way, we avoid the delicate process of transplanting after germination. Here’s what we used:
- Miracle-Gro Potting Mix – A nutrient-rich, well-draining mix that gave our seeds a healthy start. Rather than having to add nutrients yourself—because each thing you grow has its own specific needs—a good potting mix takes care of that extra work. Out in the wild, this is why certain plants grow only in certain places. This sparked a great conversation with our kids about nature’s design and how soil plays a role in what grows where.
- Biodegradable Seedling Pots – These help reduce transplant shock later because you can plant the whole pot directly into the ground. (We’ll likely remove ours before planting—my husband, who has a great green thumb, read that it might stunt root growth. As I mentioned in this post HERE, we follow his lead on all things plant-related.) These are also eco-friendly, which makes them a great way to teach kids about sustainability and reducing waste.
- Sunlight – We placed our seedlings in a sunny spot outside where they could soak up natural light during the day.
Homeschool Bonus: Built-In Learning
This garden project has sparked so many great conversations and learning moments in our home. We’ve talked about how roots work, how the sun helps plants grow, and why certain plants need more space than others. It’s hands-on science that’s easy to connect to what we’re already doing in homeschool—and there’s something extra special about kids learning through something they’ve helped create.
For little ones, it’s a chance to practice fine motor skills (like gently planting seeds and watering). For older kids, reading seed packets or researching why some plants climb while others crawl builds curiosity and independence—without needing a formal lesson plan.
Watering With Care
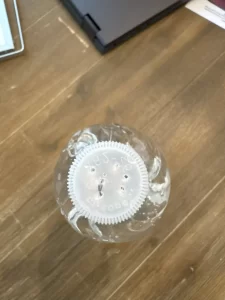
We’ve been gently watering the seedlings using a homemade drip bottle. We poked holes in the top of a plastic water bottle to create a soft, consistent flow—almost like a gentle morning drizzle. This method prevents overwatering and doesn’t disturb the fragile soil around the roots.
We water early in the morning so any extra moisture can evaporate throughout the day. This helps prevent mold or root rot and mimics natural dew and rainfall cycles. Note: While plants don’t necessarily need to be watered everyday, we are watering ours every morning since the biodegradable pots are cardboard with holes and don’t hold all of the water in like other pots would.
TIP: Especially in the summer, watering your plants in the afternoon can cause burning of the plant.
What We’d Do Differently Next Time
On our first attempt, we forgot to label the pots—and ended up with a bit of a mystery plant situation. Now we write the plant name and date directly on the side of the pot with a marker. It’s a small step that makes a big difference. We also learned that not all seeds sprout at the same rate, and that’s okay! Some need a little more time, so patience is definitely part of the process.
Seed Starting Snapshot: What to Expect Week-by-Week
Here’s what our timeline looked like, in case it helps you plan yours:
- Week 1: Plant seeds in biodegradable pots, place in sunlight, water gently daily
- Week 2: Watch for sprouting; adjust pots if some aren’t getting enough light
- Week 3: First true leaves appear—yay! Plants are photosynthesizing more efficiently
- Week 4: Begin prepping the garden bed or containers for transplanting
- Week 5+: Transplant when seedlings are strong and weather is consistent
- Update (August 21, 2025): Here are our plants after week 5!
Busy Parent Tips: Making This Doable
This doesn’t have to be a major time commitment—especially if you keep it simple. A few things that helped us:
- Start with just 2–3 types of seeds. (We got a little ambitious, but that’s because my husband has lots of experience gardening)
- Keep your supplies in one basket so setup and cleanup are quick.
- Involve the kids in short bursts—like checking on seedlings during lunch break. Our routine has been that after they get ready in the morning, but before breakfast, they go outside and help water the plants. They check on the plants again in the evening once I’m done with work to see if the soil looks moist or in need of more water.
- Turn it into a relaxing ritual: gardening while breakfast or dinner cooks = everyone’s happy.
- If you’re really tight on time, try pre-soaked seeds or faster-growing options like radishes or lettuce.
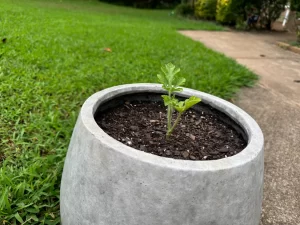
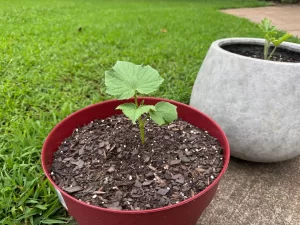
Two Weeks In: First True Leaves!
Now that we’re two weeks in, most of our plants have developed their first true leaves—a big milestone in seedling development! These leaves (pictured below) signal that the plant is starting to photosynthesize more efficiently and get stronger.

It’s been fun for the kids to see the leaves for each plant and to start imagining what the flowers and fruits will look like one day. We have to keep reminding them that it takes time for things to grow, but now that the first true leaves are in, it’s been so helpful to reinforce that particular lesson.
Over the next few weeks, we’ll keep watching our seedlings grow stronger and taller. The cucumbers will get planted under a trellis because they grow best climbing. The watermelon is also a vine plant but will crawl along the flower bed.
A Note on Planning Ahead
When you look at the back of a seed packet, there’s guidance on which soil zone you live in and the best time to start planting. If you’re like me and like to plan ahead, Google the best time to grow certain things in your region—then bring that list with you to the store for easier shopping.
Beginner tip: Some fruits, like cherries, can be tricky to grow from seed unless they’re stratified or stored correctly—so don’t feel discouraged if those don’t take off right away. Easy wins include cucumbers, green beans, lettuce, and marigolds.
Final Thoughts
Whether you’re new to gardening or just want a simple way to grow plants with your kids, this approach has been easy and meaningful for our family. My great-grandmother grew cucumbers (among other things), and I love that we’re passing this skill on to the next generation—not just because it’s fun, but because it’s valuable. And honestly, it’s kind of necessary.
Have you ever started a garden from seed?
Share your favorite things to grow—or your biggest surprises—with us in the comments!